- 网站首页
- >
- Rowing techniques
- >
- New
- >
- 查看详情
Record the user experience of Pengyi folding kayak - First sight
A box slammed down from the sky, but fortunately it dodged quickly and didn't hit anyone, but hitting flowers and plants was not good either... The box is prominently printed in English, and I didn't understand any of them. Anyway, let's open it first and see what big treasures there are!!!
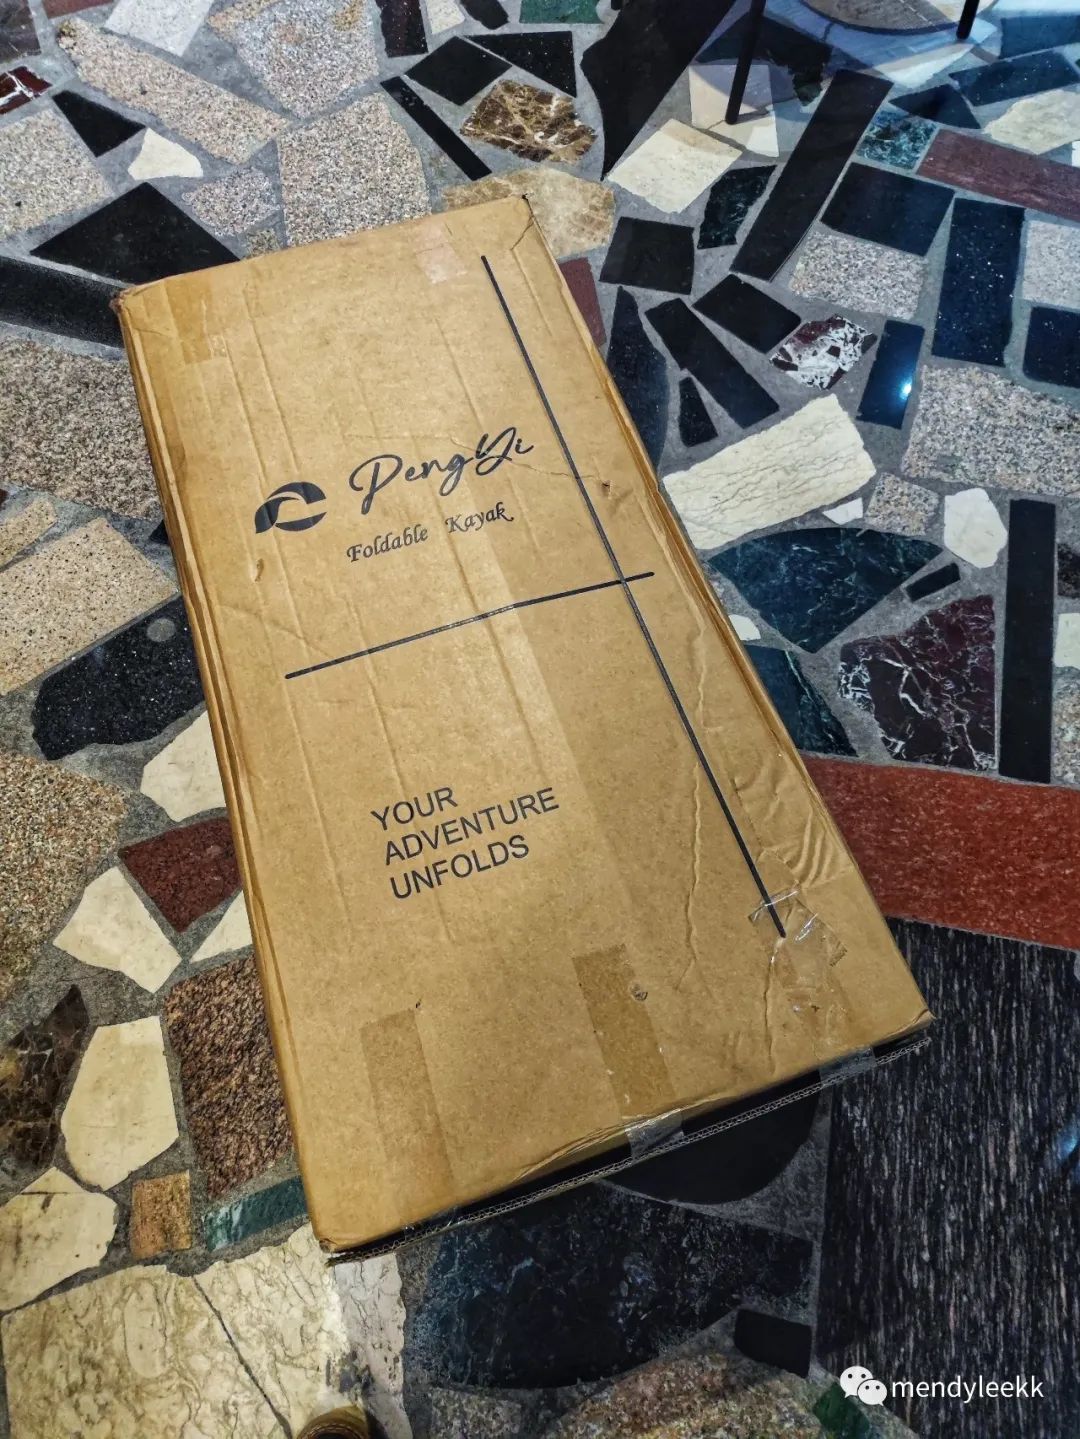
After opening the cardboard box, you can see a large backpack, which includes the entire folding boat skin, skeleton, and accessories...
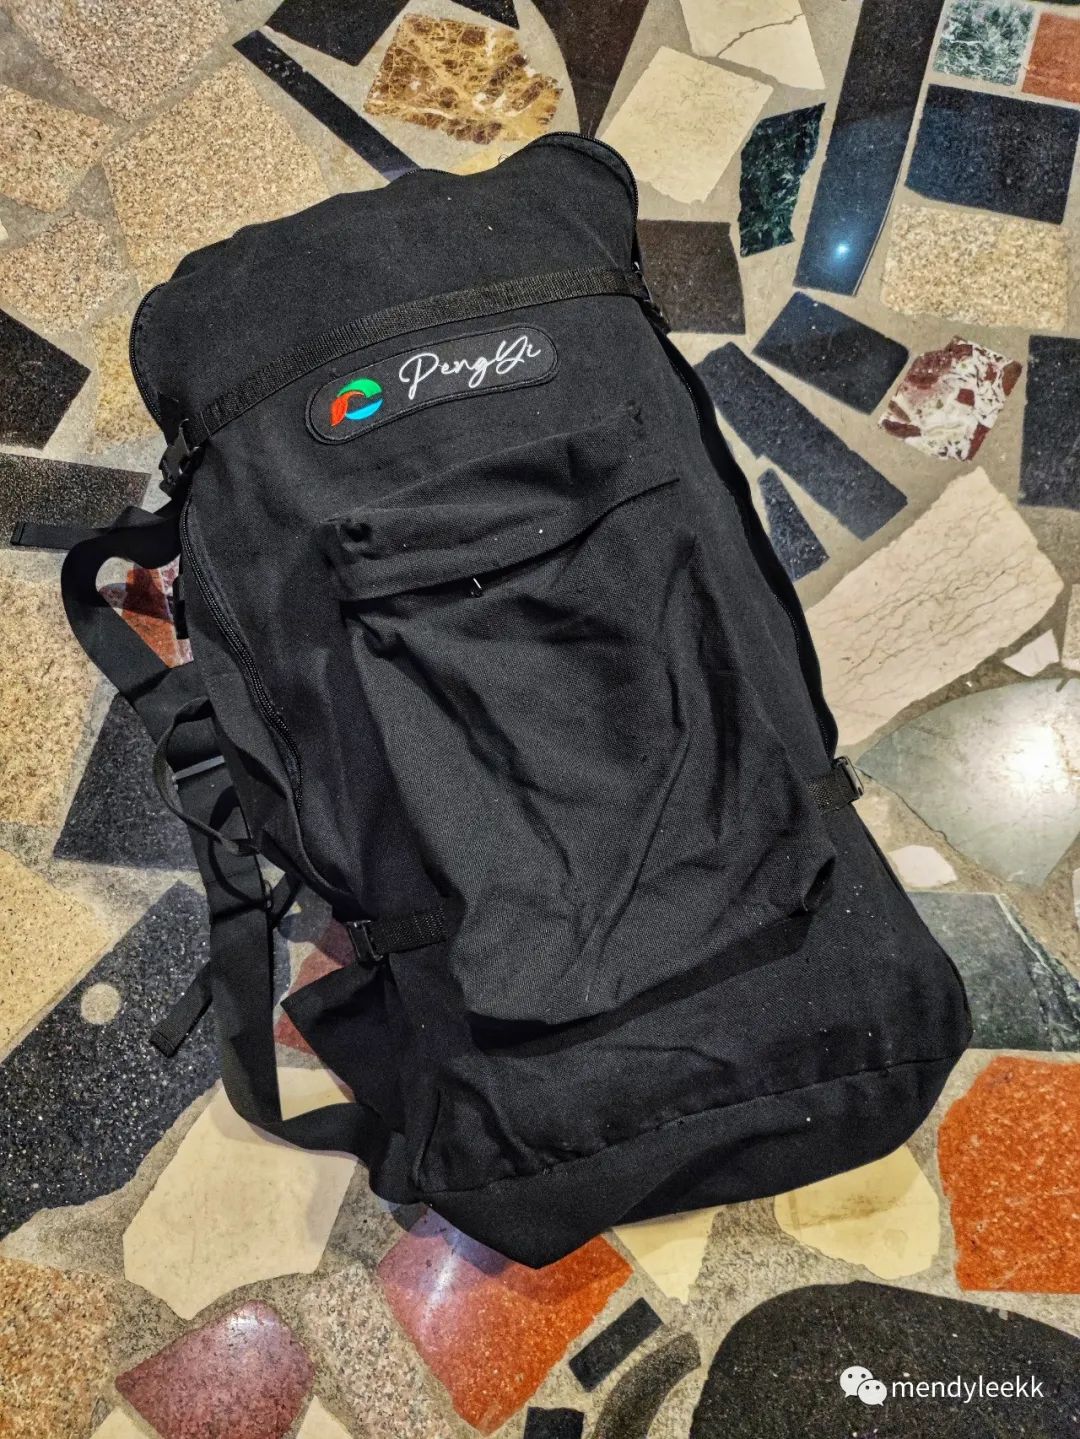
This skin skeleton boat was designed and produced by Pengyi. The version I received is 4.5 meters. Before testing, we deliberately disassembled it several times. The initial installation was quite laborious, but the main thing to note is that the front and rear keels should be aligned, and the more accurate the alignment, the better the visual effect after installation...
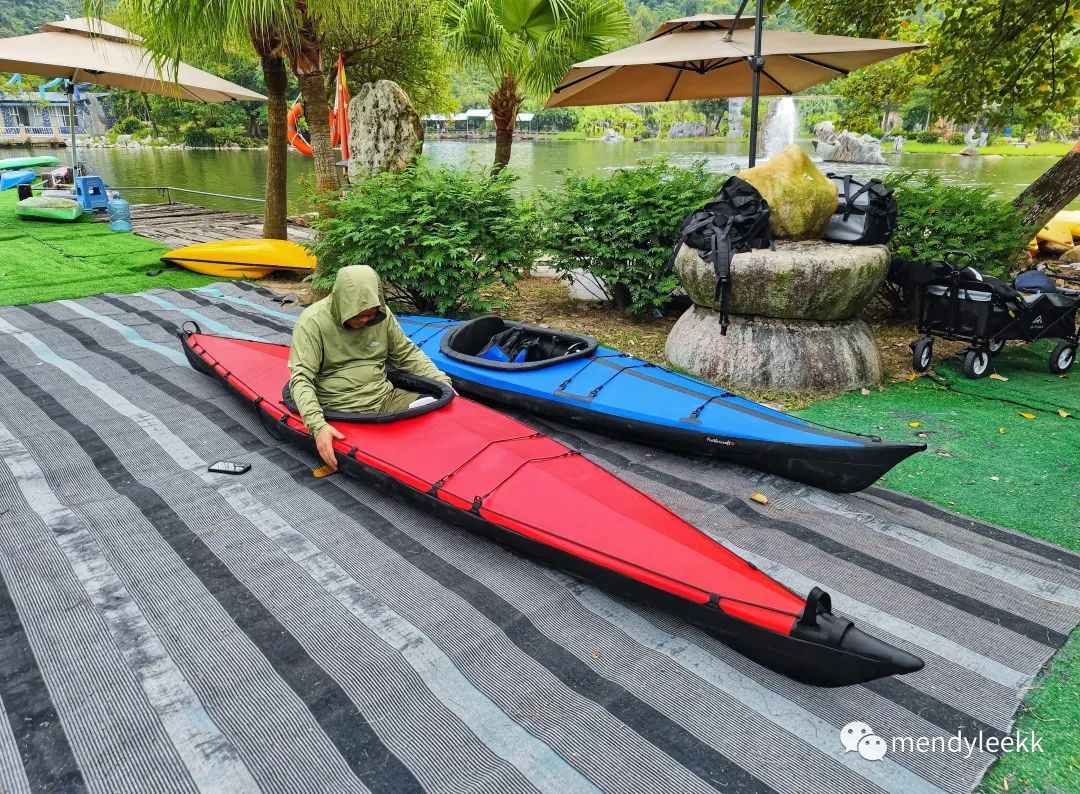
In order to better showcase the characteristics of this folding boat, we used KURRENT to compete on the same field and conducted a comparative analysis from the aspects of structure, material, weight, and rowing experience...
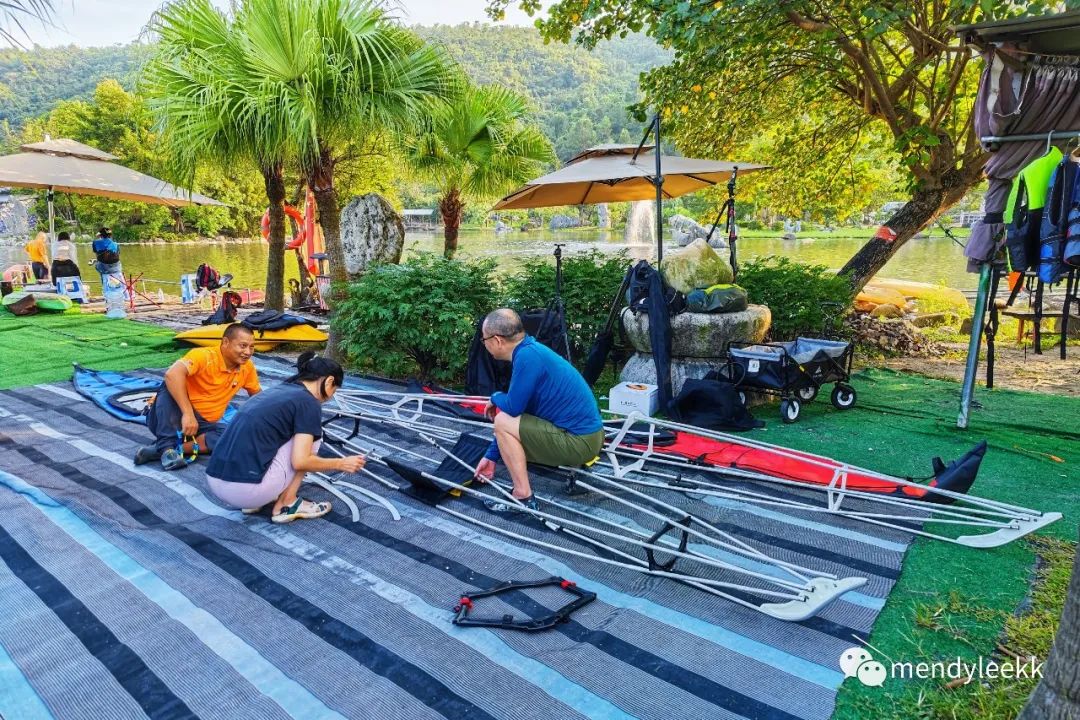
Firstly, let's take a look at the structure. Both boats adopt a skin wrapped skeleton method, and the front and rear skeletons can also be folded to minimize the overall length. Most skeleton boats use this method...
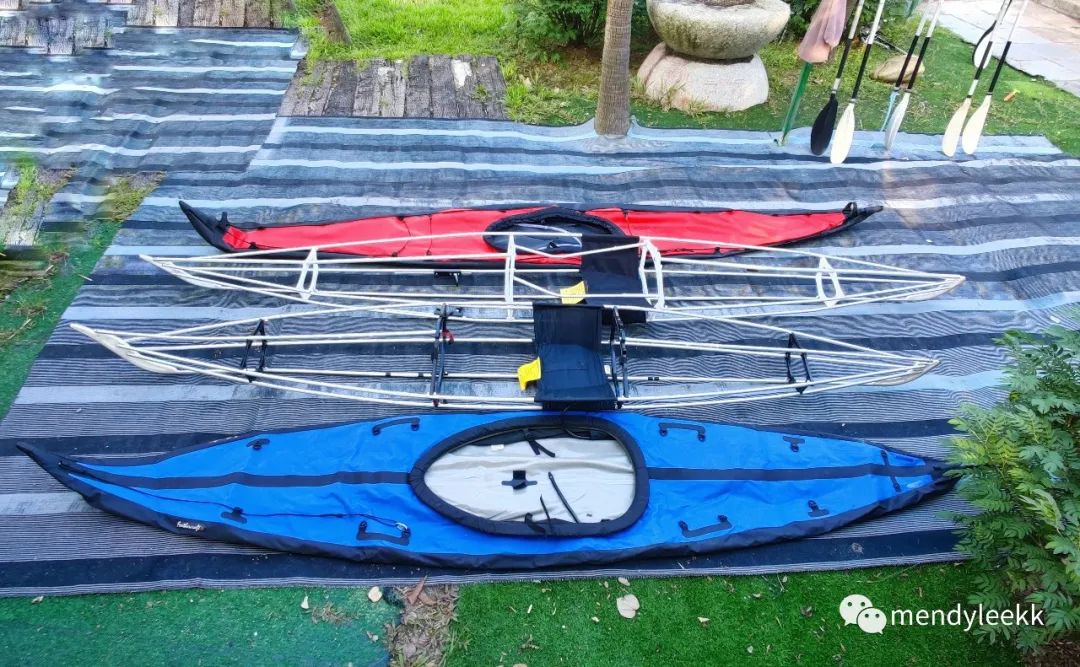
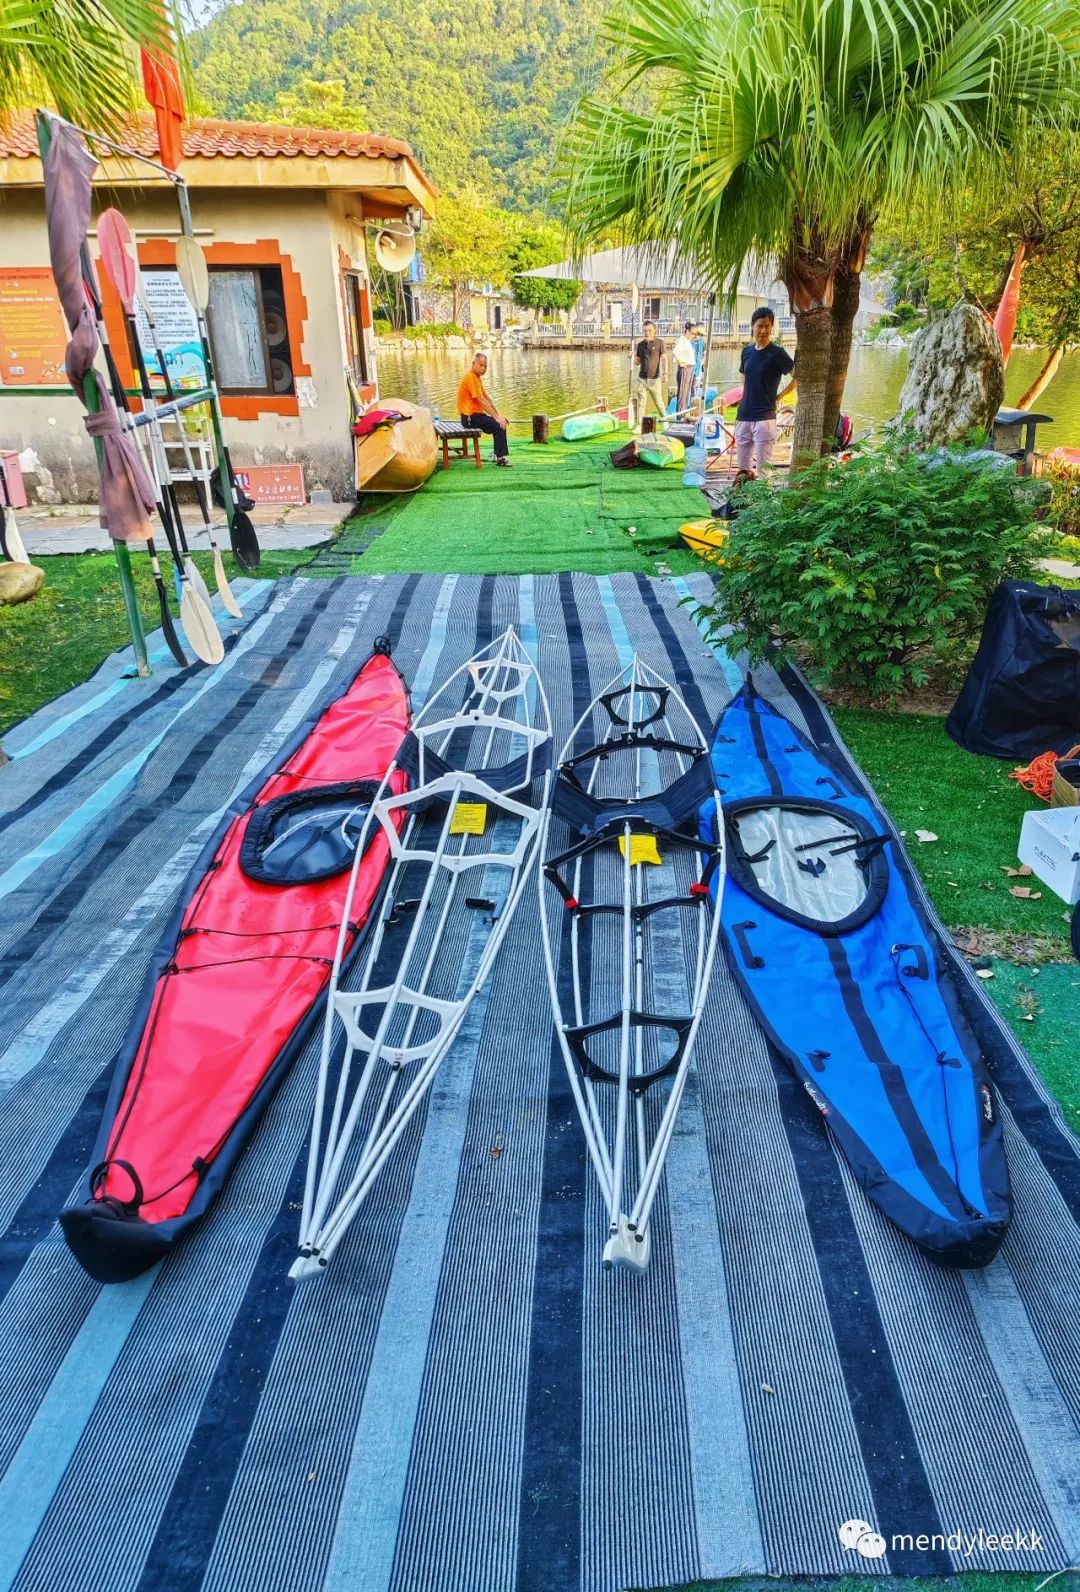
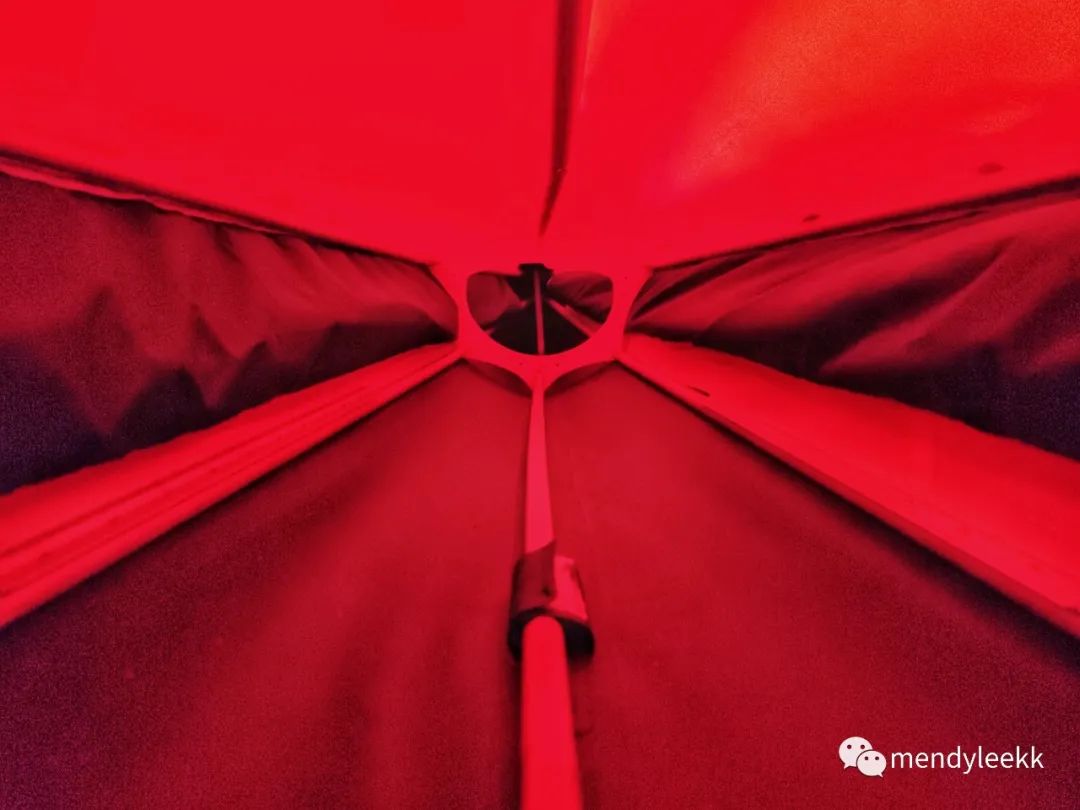
In terms of skeleton structure, the two boats can be said to be similar, while the Pengyi boat has a superior design. It has added reinforcement rods on both sides of the hatch, and its main functions are twofold. Firstly, it provides support at the hatch, making the boat more rigid. Secondly, it allows the knees to have a force position, making it easier to roll and operate in the wave area. At the same time, when standing up in the boat, you can also use force to press...
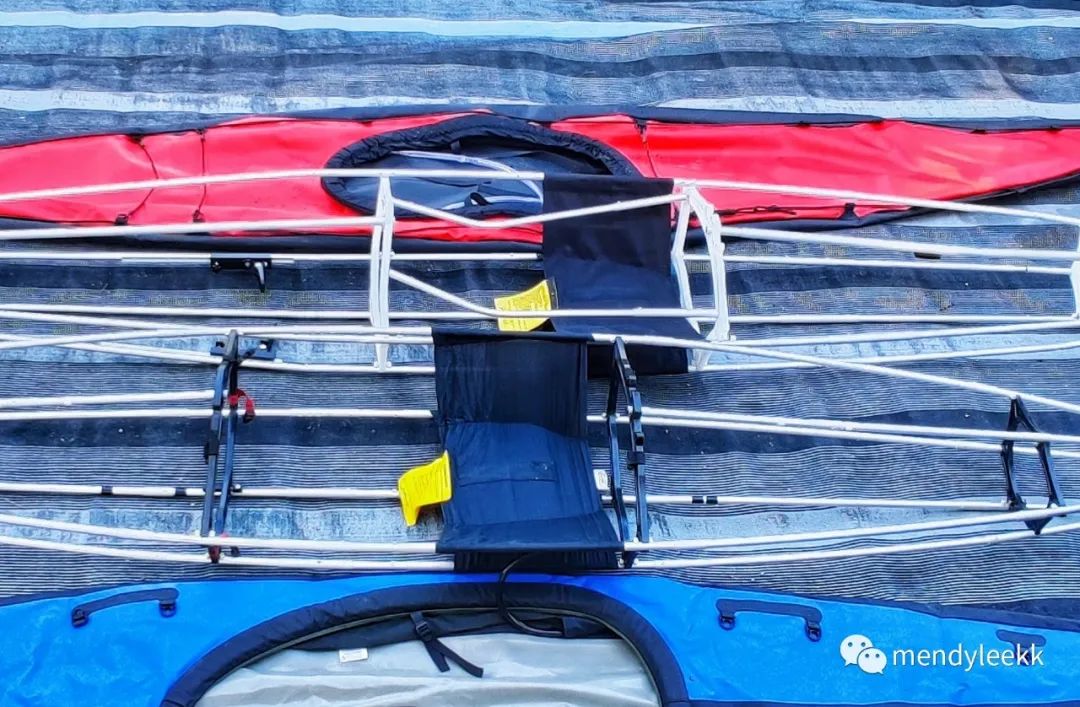
Another advantage of the Pengyi boat is that it can be loaded with a lever, which can be easily pushed into place with a small amount of force. When installing or dismantling the boat, KURRENT relies entirely on willpower, and both of them sweat profusely. The process of dismantling can be extremely painful...
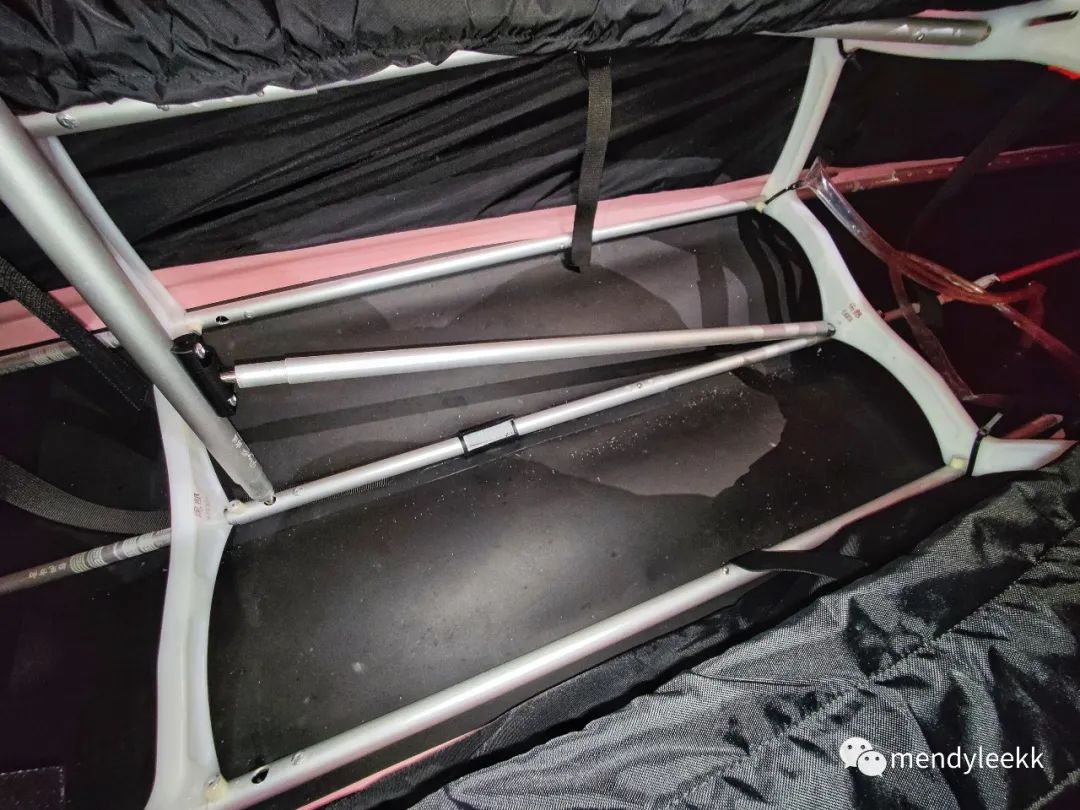
Similarly, if the front partition is too difficult to install, you can also use this lever to push it in, saving at least 60% of the effort...
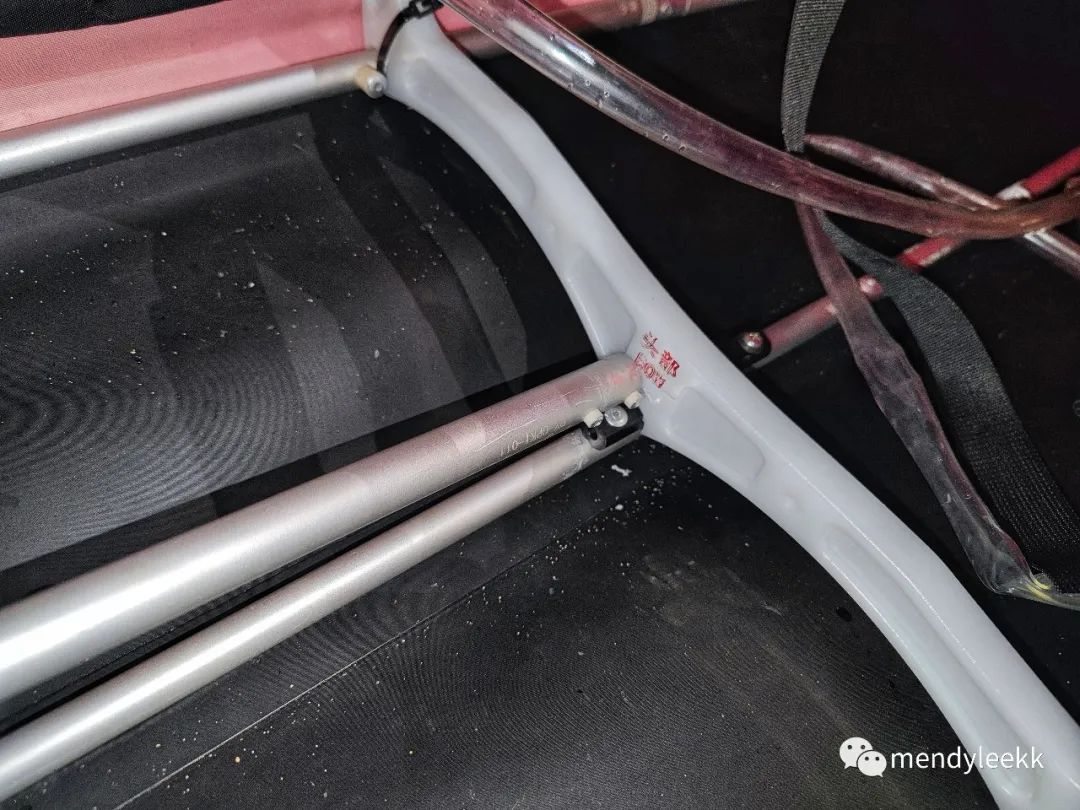
The installation steps for the two boats are basically the same:
1. Install the small partition into the front and rear frames, then insert them in sequence and adjust the alignment as much as possible;
2. Install the middle keel at the bottom and use two auxiliary levers to help push into the first buckle position (pay attention to the front and back positions);
3. Install the four side bars connected to the seat in sequence, but do not use levers to push into the buckle position (pay attention to the front and back);
4. Install the rear partition and check if the five positioning clips of the rear frame are in the same position (initially in the middle) before installing the rear partition;
5. Install the front partition, first install the four buckles on both sides, and finally install the buckles, which may require some force;
6. Use auxiliary levers to push in the locking positions of the side bars on both sides in sequence, starting with two bars below each side, and then two bars above each side. After pushing the four side bars, there is a possibility that the middle main bar may loosen, so push the middle main bar up one more grid;
7. Next, install the hatch reinforcement rod, with the locking end at the back, and both sides can be pushed up to the longest grid;
8. After the entire skeleton is installed, the boat can be lifted and shaken. If there is no looseness or missing installation, the auxiliary lever can be inserted into the corresponding positions of the front and rear skeletons and rotated to fix them;
9. Secure the front and rear partitions with the webbing inside the upper skin, without exerting too much force to prevent them from moving. Then, install the seat cushion backrest and insert two hatch reinforcement pieces like crescent knives into the rear of the hatch, leaving only a small section of the webbing outside;
10. Inflate the airbags on both sides of the boat, with a pressure of about 3 PSI. At the beginning, it is not advisable to inflate too much, as the gas will expand significantly when heated in sunlight;
11. The last step is to sit up and take a selfie and post it on social media, then dismantle the boat and finish work...
